Grafix Matte Dura-Lar Leaf Silhouette
Project Description: Create your own colorful leaf silhouette using Grafix Matte Dura-Lar Film.
Designed by: Dee Chodan
Difficulty: Moderately Challenging
Materials:
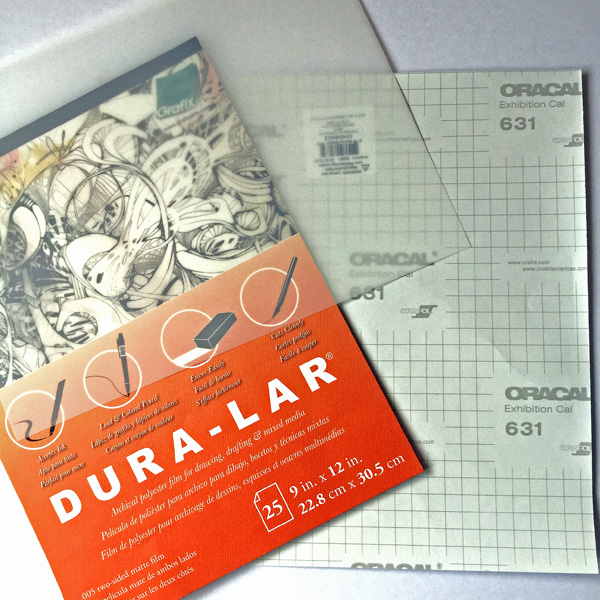
- Grafix Matte Dura-Lar Film 9”x12”
- Brea Reese Alcohol Inks Cobalt Green and Kelly Green (Piñata Gold Optional)
- Circuit Transfer Tape 9“x 12“
- Oracal 651 Adhesive Vinyl 7”x10”
- 90% Isopropyl Alcohol (Or Alcohol Ink Blender Solution)
- White Card Stock 9“x 12“
- Scraper or credit card
- Cutting Machine or X-Acto knife with cutting mat
- Kamar Varnish Sealant
- UV Sealant
- Optional: Straw, Heat Gun, or Air Compressor
Steps to Make This:
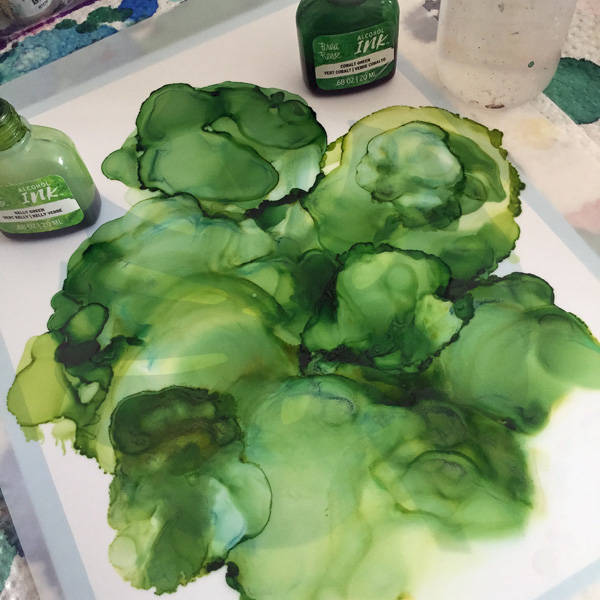
- Start by adding a small pool of Isopropyl Alcohol to Grafix Matte Dura-Lar Film and then add in a couple of drops of Brea Reese Alcohol Inks Cobalt Green and Kelly Green.
- Disburse the ink around either by blowing with your breath or using the following items; a straw, a heat gun or an air compressor.
- Repeat until the whole area of the page has been filled in with color. (Make sure you were doing this in a well-ventilated area, as with using alcohol there can be some fumes.
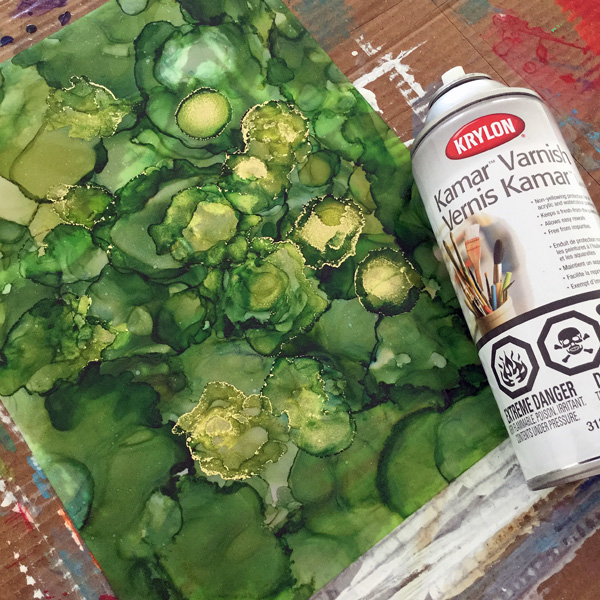
- After you are satisfied with how it looks, let the sheet dry. Once the ink is dry, spray 2 coats of the Kamar Varnish Sealant first, then add 1 coat of the UV Sealant spray. (Make sure that the film is dry in-between applications. It is very important to use the Kamar Varnish first as the UV Sealant interacts with the ink.)
- For the adhesive Oracal 651 Adhesive Vinyl overlay, cut out your design making sure you measure correctly. (To make a colored border cut your vinyl sheet 1” smaller than your inked area.)
- Cut your vinyl design out using a cutting machine, but if you don’t own a cutting machine you can use a cutting mat and an X-Acto knife.
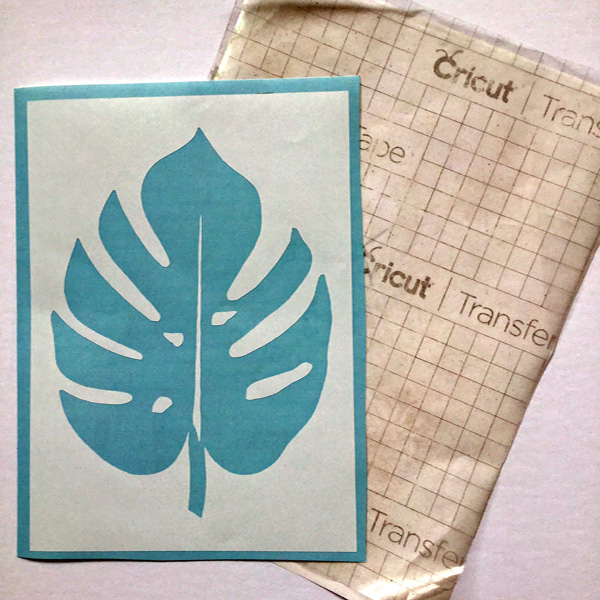
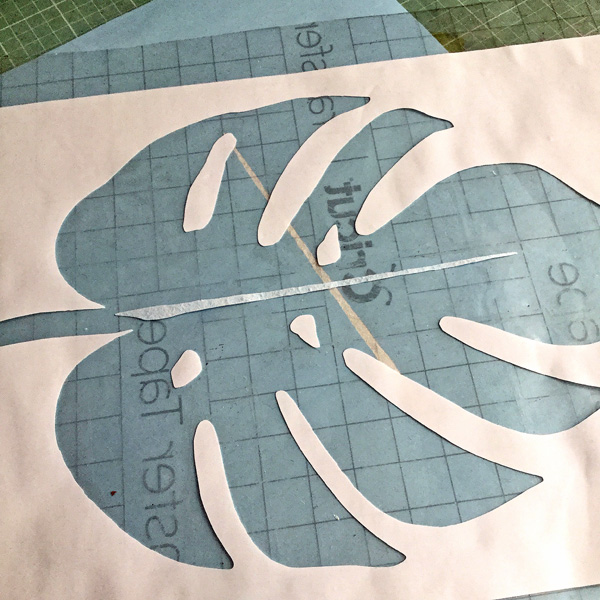
- Remove and discard the grey area only. These will be the areas where the ink shows through.
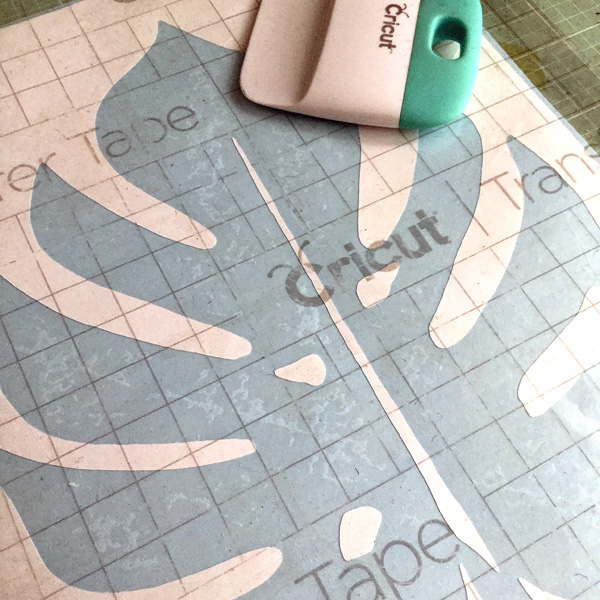
- Use Circuit Transfer Tape to place the vinyl overlay on top of the painted Matte Dura-Lar Film, so the overlays backing can be removed and ready for applying on top of your colored sheet.
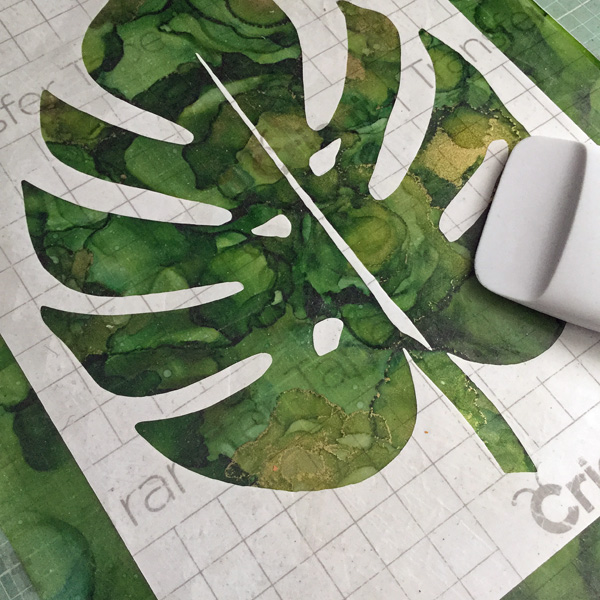
- Once the vinyl overlay is attached, carefully line up your overlay on top of the inked sheet (remember to position accounting for 1” borders); transfer sheets usually have guidelines or grids. Start at the bottom and press down as you move to the top, you can use a scraper or credit card to help ensure there are no bubbles. (If you are unable to squeegee out the bubbles you can use a very small pin to pop the bubble and squeeze out the air.)


