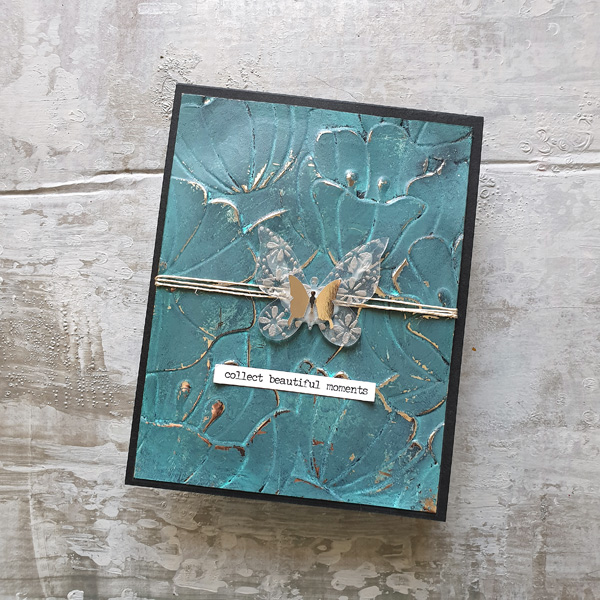
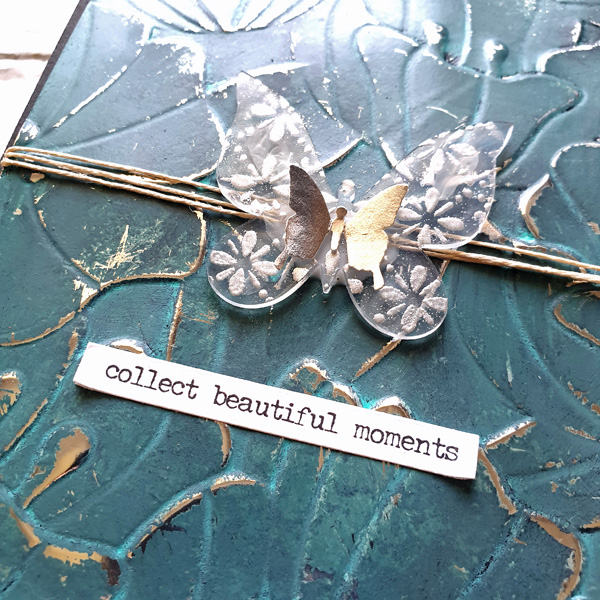
Grungy Metallic Foil Card
Project Description: Elevate your card creations by creating a Grungy Metallic Foil Card using Grafix Metallic Foil Board and Shrink Film.
Designed by: Tania Ahmed
Difficulty: Moderately Challenging
Materials:
- Grafix Metallic Foil Board
- Grafix Clear Shrink Film
- Butterfly Die or Punch
- Twine
- Sentiment Stickers
- Embossing Folder
- Die Cutting Machine/Scissors
- Black Acrylic Paint
- Blue/Teal Acrylic Paint
- Paintbrush
- Heat Tool/Oven
- Rubber Stamp
- Embossing Ink
- Silver Embossing Powder
- Clear Drying Glue
- Black Card Blank
- Paper Towel
Steps to Make This:
- Start by cutting Grafix Metallic Foil Board into 4” x 5.25” rectangle.
- Next, dry emboss by using an embossing folder and a die-cutting machine.
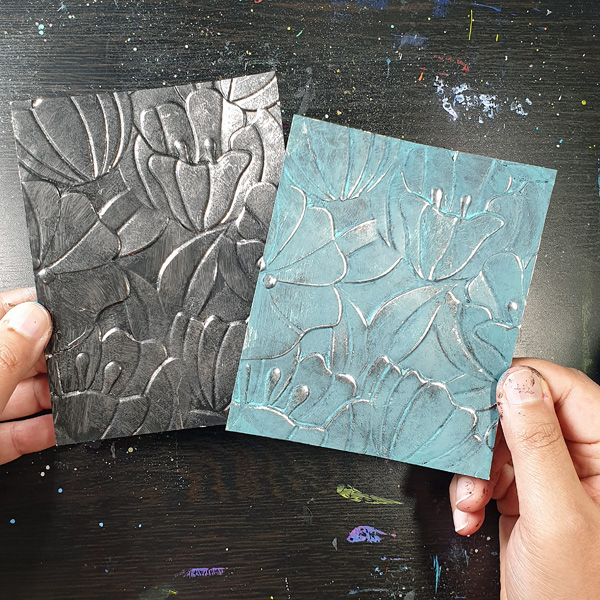
- Apply black acrylic paint with a brush to the sheet. Before the paint dries, wipe some of it off lightly with a paper towel. (This will give the appearance of brushed metal).
- Let the first layer dry completely, apply a second color of acrylic paint, and repeat the above process.
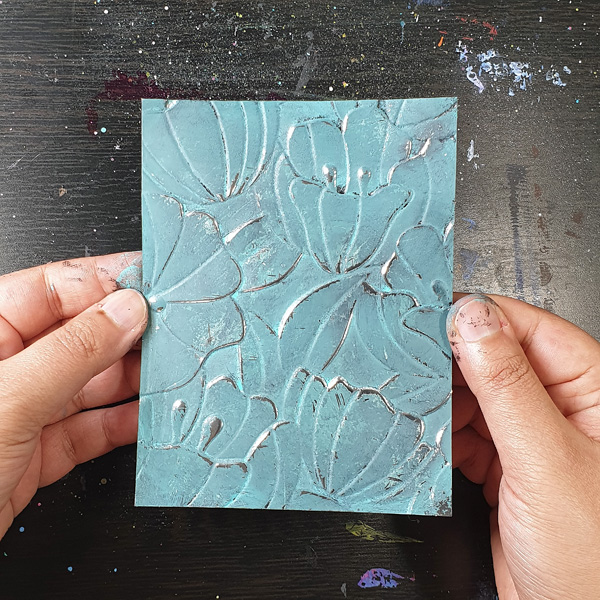
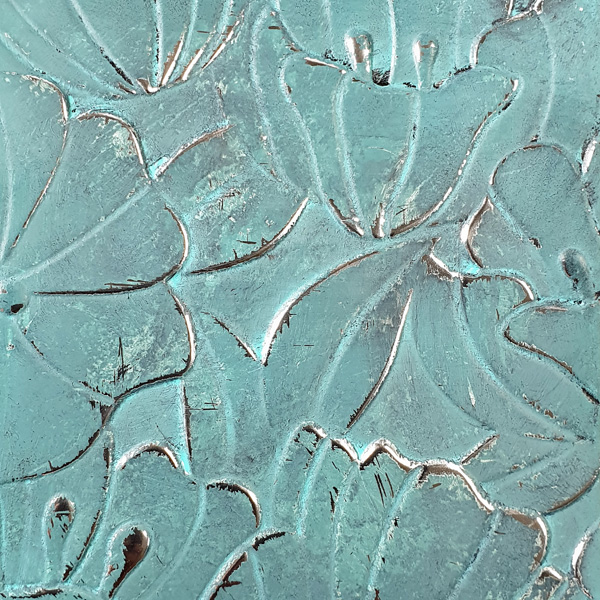
- Once the sheet is dry, buff along the high points of the embossing to reveal the metallic foil underneath.
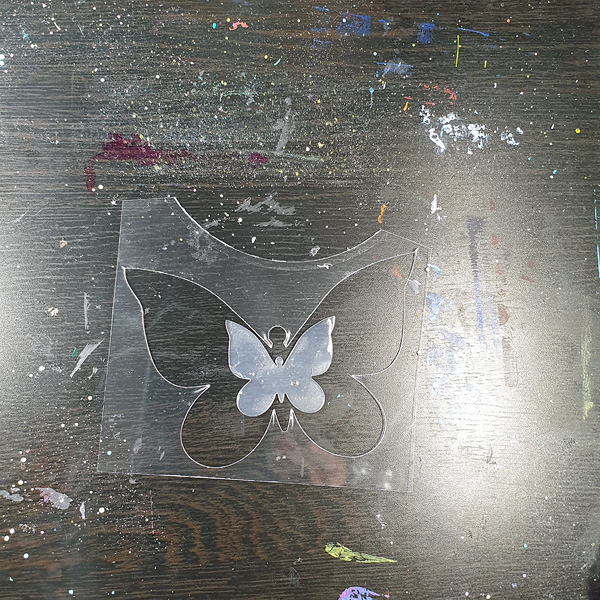
- Then cut Grafix Clear Shrink Film using a butterfly die or trace and cut out a butterfly with scissors.
- Shrink the film in an oven or use a heat tool. Follow the Shrinking instructions on the back of the package.
- Apply embossing ink to stamp and stamp the shrunken butterfly. Liberally sprinkle with embossing powder, tap off excess powder, and heat the powder.
- Use a butterfly punch on the foil board and attach it to the shrink film butterfly with clear drying glue.
- Loop twine around the dry embossed foil board piece a few times and secure behind with tape.
- To finish off the card, attach to the black A2 card blank, add a sentiment sticker, and attach butterfly embellishment with glue.

