Transferring Line Drawing to Grafix Drafting Film
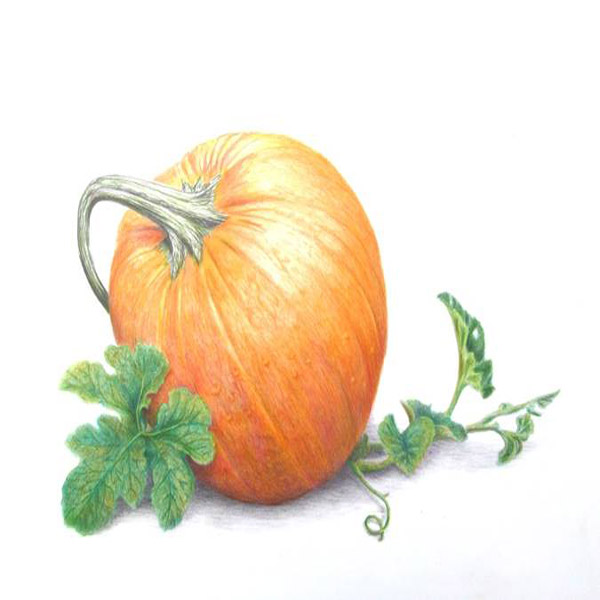
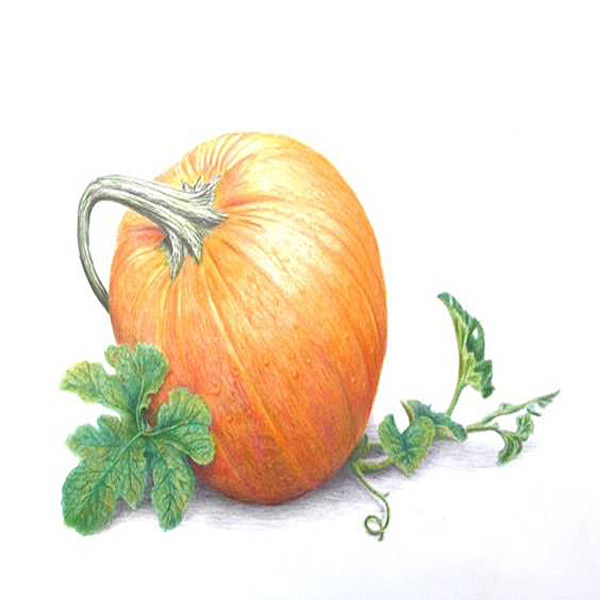
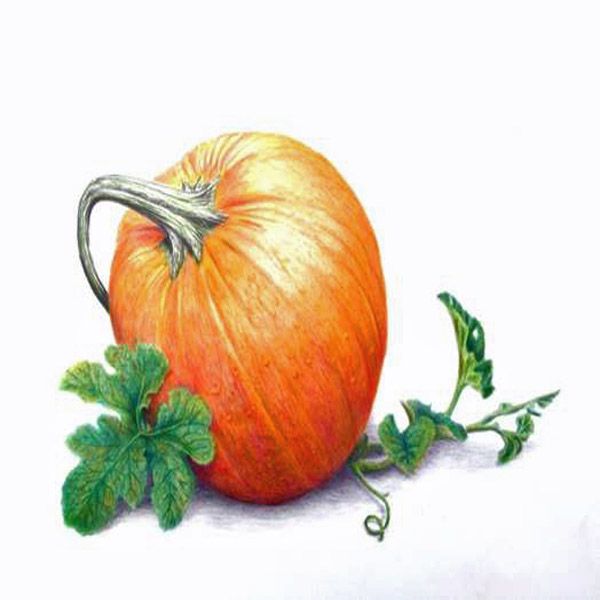
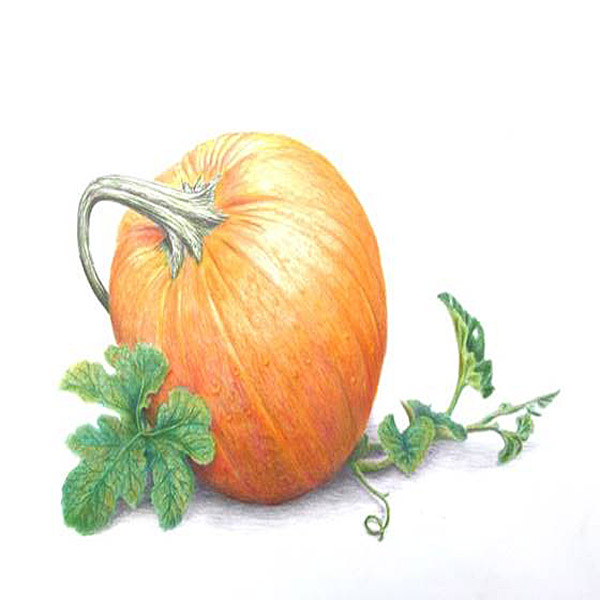
Project Description: Learn how to create a drawing by transferring a reference photo design to Grafix Drafting Film.
Designed by: Dorothy DePaulo
Difficulty: Moderately Challenging
Materials:
- Grafix .003 Double-Sided Drafting Film
- Color Pencils
- Reference Image(s)
- Copier Paper
- Formula 409
- Paper Towel
Steps to Make This:
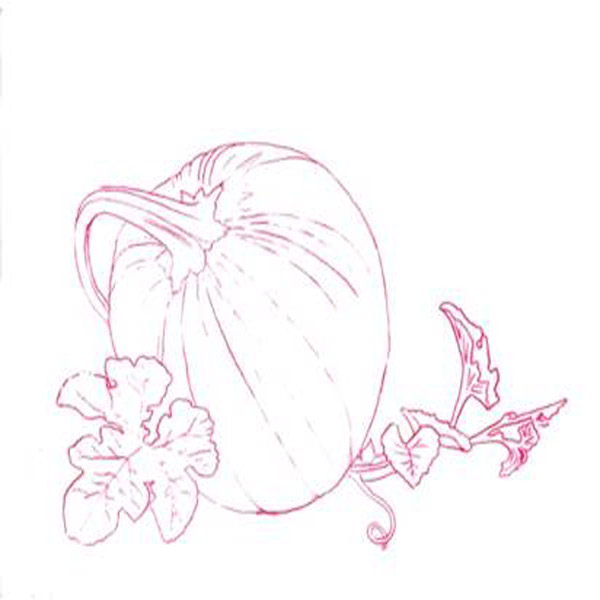
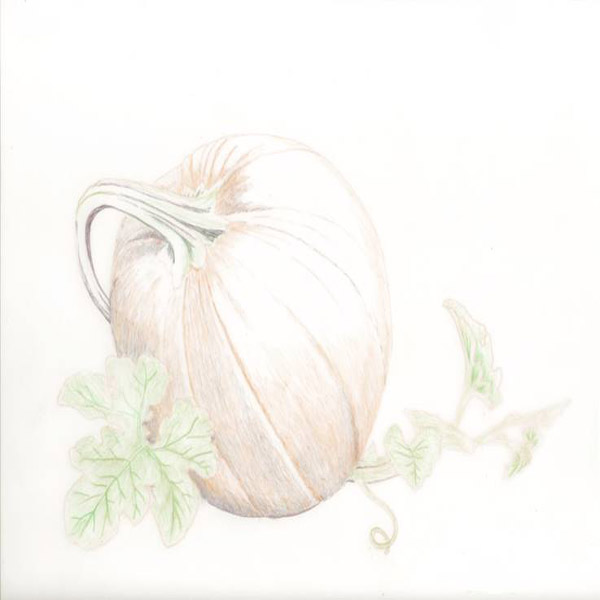
- Create a tracing outline of the reference image(s) on the Grafix Drafting Film. Make sure to trace all of the important details.
- Place a piece of plain copier paper behind your drawing area.
- Then place the Grafix Drafting Film, which you will do your drawing, over the line trace drawing. Tape the two pieces of Drafting Film in alignment.
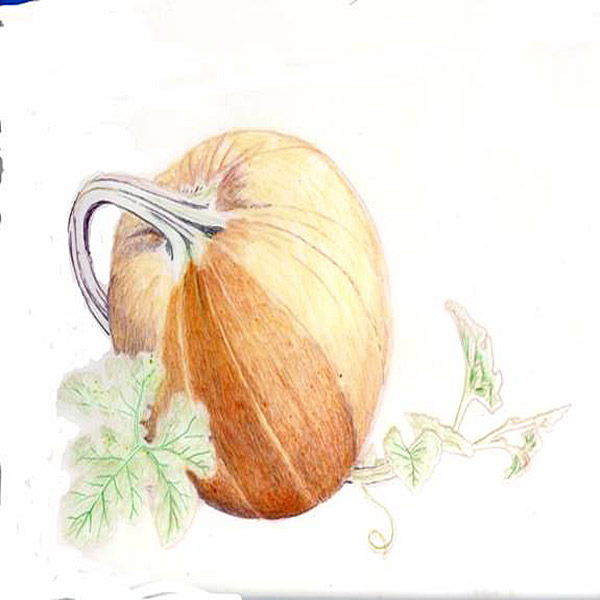
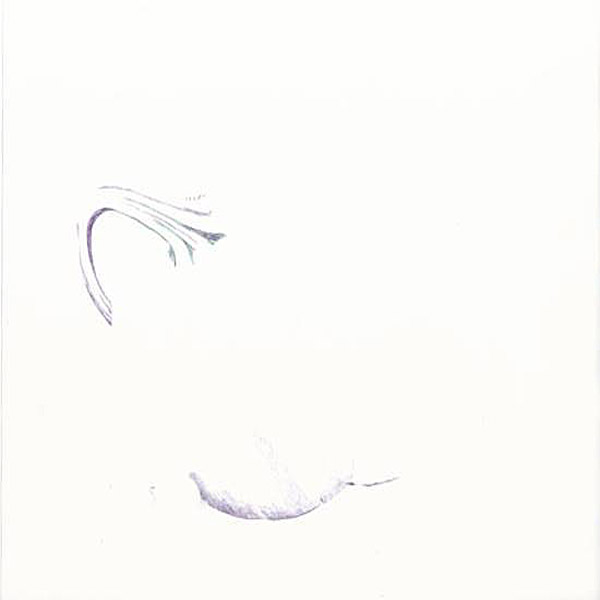
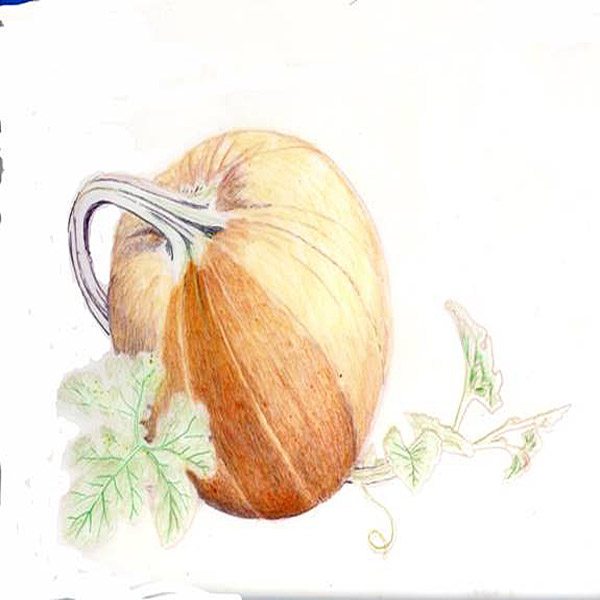
- Select the sections that are the darkest colors in your reference photo to start with. Use a dark color and color in those areas.
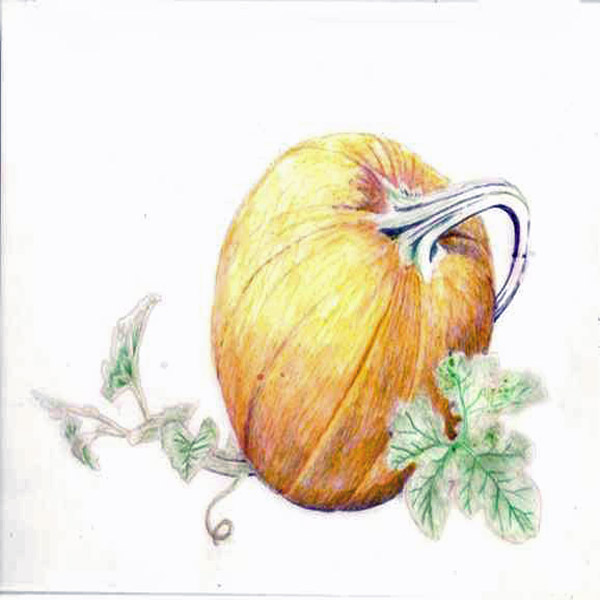
- Next, look for the next darkest areas and using very small circular strokes and extremely light pressure using corresponding colors to your reference.
- Detach the two pieces of film and flip the piece you are working on the reverse side. Then take the tracing sheet and place underneath on the reverse side. Note: Make sure the sheets line up together and tape the sheets together again because you will be working on the back of the film.
- Using light pressure add the areas with the lightest color. Note: it’s important when layering colors that each color pencil layer applied with light pressure.
- Detach the sheets again and flip them right side up with the film with the drawing on top of the tracing.
- Continue to work in small areas at a time; try to duplicate the colors and textures of your reference photo within each individual color pallet. Note: If you make a mistake paint Formula 409 over the mistake, leave it on for a few moments, and then blot with a paper towel. Repeat if color remains.
- Look carefully at the color values. Make sure you keep the light areas light and gradually darken the dark areas by layering colors. Note: If you have several layers of color and you can’t seem to get it as dark as you would like, you can darken the value more by adding dark valued colors to the back of the drawing. Sometimes an entire area may need to be erased and done over. That’s one of the best things about drafting film. Almost any mistake can be corrected.
- Once your painting is the way you want it, turn it over to the backside. In a well-ventilated area, spray the reverse side with workable fixative.
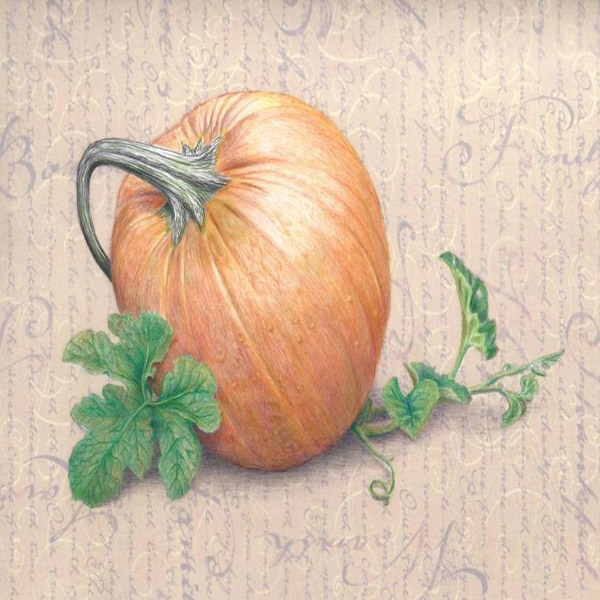
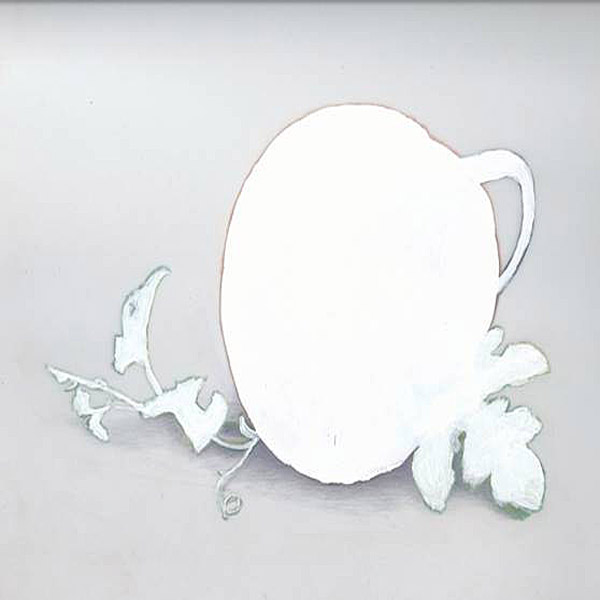
- Then paint white acrylic over the entire area. Do not paint the shadow area. Let dry and give a second coat. Note: Usually two coats will do, but if the area is not opaque, let dry and give a third coat.
Note: The possibilities in adding another layer or two behind your finished drawing are almost endless. You can use another layer of Grafix Drafting Film with another drawing on it.

